How to Build a Windbreak From Clear Acrylic Panels for Balconies
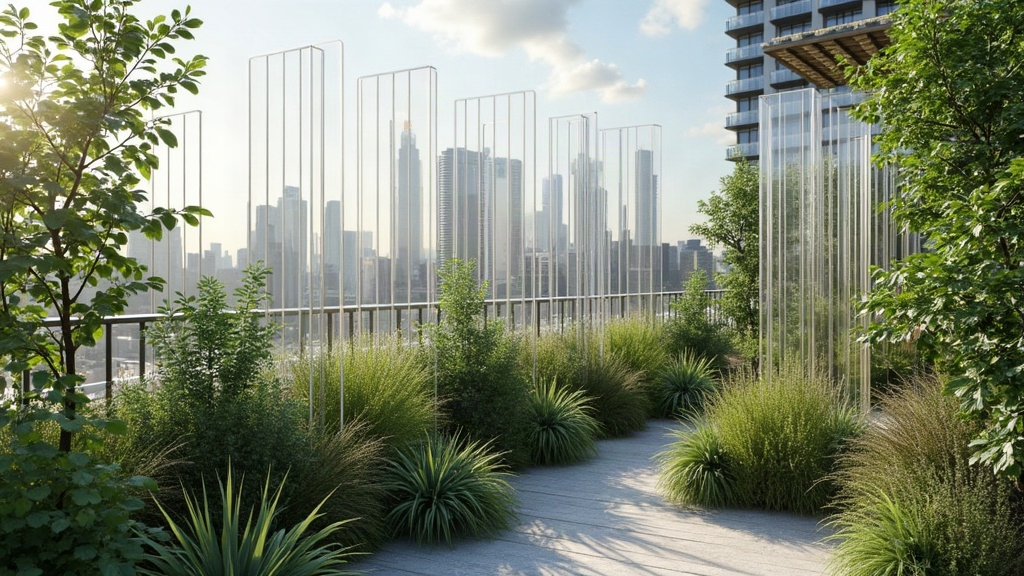
If you garden above the tenth floor, chances are wind, not cold or shade, is what’s actually killing your plants. A clear acrylic windbreak can cut wind speed by 60-80% while leaving your skyline view and natural light untouched. Here’s a complete, practical guide to planning, building, and installing one safely.
Why Wind Is the Real Enemy on High-Rise Balconies
Wind speed roughly doubles for every 10 floors of height. Corner units, or balconies facing open water or parks, catch even stronger gusts than the rest of the building. Constant wind does a lot of damage, and most of it’s invisible until it’s too late:
- Dries out soil and leaves faster than sun does, causing scorch
- Snaps stems, shreds leaves, and topples pots
- Prevents pollinators from landing on flowers
- Creates a wind-chill effect that stunts growth even in “warm” months
A solid wall would block wind completely, sure, but solid barriers create turbulent eddies on the leeward side. Those eddies are often worse for plants than open wind would’ve been. So the goal isn’t a wall. It’s a permeable, light-penetrating screen that slows air down without stopping it dead.
Why Clear Acrylic (Not Mesh or Wood)
Clear cast acrylic (PMMA) or polycarbonate sheeting is the best material for high-rise balconies. Here’s why:
- Lets 90%+ of light through, so plants behind it still thrive
- Doesn’t obstruct the view you’re paying premium rent for
- Weighs far less than glass (which matters a lot given weight restrictions and wind-load on fixtures)
- Resists shattering better than glass if struck by debris
- UV-stabilized grades, rated for outdoor use, won’t yellow over time
One warning worth repeating: skip cheap acrylic without UV protection. It clouds over and goes brittle within a year outdoors, and you’ll be redoing the whole project.
Materials You’ll Need
- 3-5mm UV-stabilized clear acrylic or polycarbonate sheets (polycarbonate is tougher against impact; acrylic is clearer and cheaper)
- Aluminum U-channel or L-brackets for framing (steel rusts and adds unnecessary weight, so skip it)
- Stainless steel bolts, washers, and rubber grommets (the rubber keeps the acrylic from cracking at drill points)
- Weighted or clamp-mounted planter boxes to anchor the frame’s base
- Building-approved railing clamps (don’t drill into a shared structural railing until you’ve checked your building’s bylaws, full stop)
- A drill with a step bit (acrylic needs slow-speed drilling, otherwise it cracks)
Step-by-Step: Building the Panel System
1. Check Building Rules First
Most high-rises have strict exterior-alteration policies, and for good reason. Clamp-on or freestanding systems that don’t touch the railing or facade are almost always the safer route compared to anything drilled into shared structure. While you’re at it, confirm the weight limit for your balcony load rating. Acrylic panels plus wet soil adds up faster than you’d think, sometimes 40-60 lbs for a modest setup.
2. Measure and Plan Panel Height
- For rail-height wind reduction, panels 24-36 inches tall above the existing railing usually do the job.
- Full floor-to-ceiling panels only make sense on exposed corner units dealing with consistent 20+ mph gusts.
- Leave a 1-2 inch gap between the bottom of the panel and the top of the railing. Counterintuitively, that small gap improves airflow diffusion and reduces the “sail effect” instead of letting more wind through.
3. Cut and Edge the Panels
Get the supplier to cut panels to size if you can. The edges come out cleaner and there’s no risk of cracking mid-cut. If you’re cutting yourself, use a fine-tooth blade and leave the protective film on until final install, that film is the only thing saving your acrylic from scratches at this stage.
4. Build a Lightweight Frame
Run aluminum U-channel along the top and bottom edges of each panel, then bolt the channel to vertical posts clamped to the railing. This “float” design spreads wind load across several clamp points instead of letting it concentrate on the acrylic itself.
5. Drill With Rubber Grommets
Never bolt acrylic directly metal-to-plastic, it will crack eventually. Drill oversized holes (acrylic expands and contracts with temperature more than you’d expect) and use rubber grommets at every bolt point.
6. Anchor the Base
Add weighted planters or sandbag-style ballast at the base of any free-standing sections. Don’t skip this step. A 3x3 ft acrylic panel acts like a sail in strong gusts if it’s not secured at both top and bottom, and that’s how panels end up fifteen floors down on someone’s car.
7. Test Before Trusting
Before you load up plants nearby, watch the panel through one windy day first. A little flex is normal and nothing to worry about. Rattling, or bowing more than an inch, means you need another anchor point before anything else goes near it.
Positioning Plants Behind the Windbreak
- Place your most wind-sensitive plants (herbs, young vegetables, flowering annuals) directly behind the panel, within 1-2 feet.
- Hardier, wind-tolerant plants (ornamental grasses, succulents, rosemary) can sit further out where the wind still reaches.
- Stagger pot heights so shorter plants get full shelter while taller plants make use of the panel’s height.
Maintenance Tips
- Clean panels every 2-3 weeks with mild soap and a microfiber cloth. Skip ammonia-based glass cleaner entirely, it fogs acrylic.
- Inspect grommets and bolts each season. Temperature swings loosen fittings faster up at height than they would at ground level.
- In winter, keep an eye out for ice buildup adding unexpected weight to the frame.
Conclusion
A clear acrylic windbreak tackles the single biggest obstacle to high-rise balcony gardening, wind, without giving up the light or the view that make a balcony garden worth having in the first place. Keep the design permeable at the edges, anchor it properly top and bottom, and check your building’s rules before anything permanent goes up. Get it right, and a wind-battered ledge turns into a genuinely productive, good-looking garden space.