Growing Oyster Mushrooms in Coffee-Ground Buckets on a Balcony
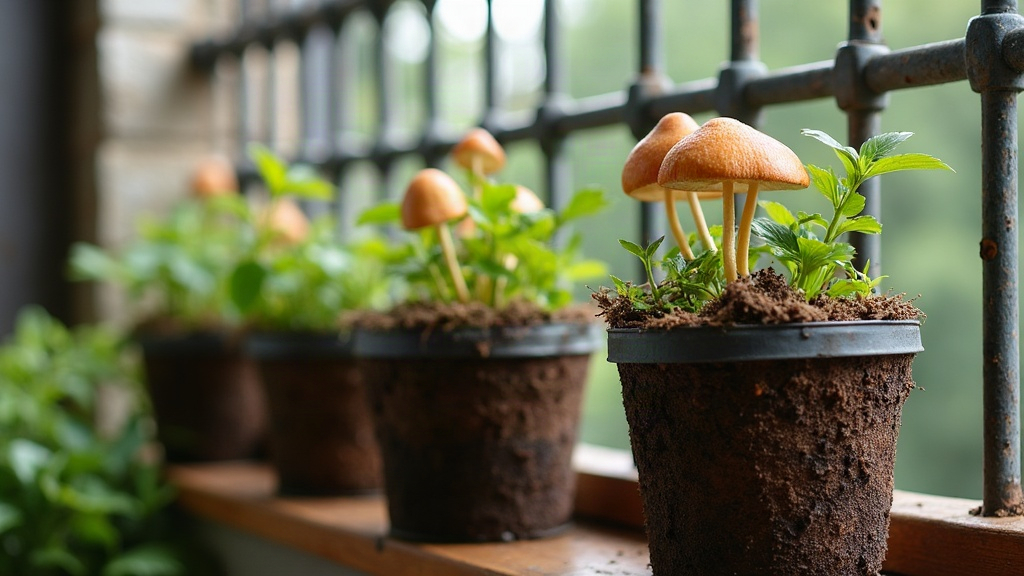
Growing oyster mushrooms in coffee-ground buckets on a shaded balcony is one of the cheapest, easiest ways to pull real food out of a tiny urban space. Used coffee grounds cost nothing, they’re loaded with nitrogen, and the brewing process has already pasteurized them. That makes them a near-perfect substrate for oyster mushrooms, a fungus that’s happy in low light, shrugs off temperature swings, and fruits within 2-3 weeks of colonization. Here’s the whole process, start to finish: collecting grounds, inoculating, and pulling your first harvest.
Why Oyster Mushrooms Are Perfect for Balconies
Vegetables want sun. Mushrooms don’t. Oyster mushrooms (Pleurotus ostreatus) actually prefer indirect, diffused light, and harsh afternoon sun will dry them out or rot them depending on the day. So that dim, shaded corner of your balcony that’s useless for tomatoes? It’s prime real estate for fungi. A few other things going for them:
- Fast turnaround: first harvest in 2-4 weeks from inoculation
- Compact footprint: one 5-gallon bucket can give you 1-2 lbs of mushrooms per flush
- Low cost: grounds are free, spawn runs $10-20 and stretches across several buckets
- Waste reduction: keeps coffee grounds out of the landfill and turns them into dinner instead
What You’ll Need
- Used coffee grounds (2-4 lbs; most cafés will hand over bulk grounds for free if you ask)
- Oyster mushroom spawn (grain or sawdust spawn, sold online)
- 5-gallon buckets with lids, or any repurposed plastic tub
- A drill, for air holes
- Clean gloves and a spray bottle for misting
Step-by-Step: Building the Coffee-Ground Bucket
1. Prepare the Grounds
Use grounds within 24 hours of brewing. Anything older risks going moldy and inviting competing fungi before you’ve even started. Let them cool to room temperature, then squeeze out the excess water. You want the texture of a damp sponge, not a wet rag.
2. Drill Drainage and Air Holes
Drill 8-10 holes, roughly 1/4 inch, around the sides, plus a few in the lid. Oyster mushrooms need steady fresh air exchange (FAE). Skip this step and you’ll end up with long, spindly “antlers” instead of proper caps.
3. Layer Spawn and Grounds
Work with clean hands or gloves on:
- Add a 2-inch layer of coffee grounds to the bottom of the bucket
- Scatter a handful of spawn evenly over it
- Keep layering until the bucket’s about 3/4 full, ending on a layer of grounds
- Press down gently to knock out air pockets, but don’t pack it hard
4. Incubate in the Dark
Seal the lid and tuck the bucket somewhere dark with a stable temperature, 65-75°F (18-24°C), for 10-14 days. Peek in every couple of days. You’re looking for white, cottony mycelium creeping through the grounds. See green or black fuzz instead? That batch is done, toss it and start over with cleaner grounds.
Moving to the Shaded Balcony
Once the bucket’s gone solid white, fully colonized, move it out to the shaded spot on your balcony:
- Light: indirect daylight only. Direct sun will dry out and bleach the fruiting bodies fast.
- Humidity: mist the inside twice a day. Oysters want 80-90% humidity to form proper caps.
- Temperature: 55-70°F (13-21°C) is the sweet spot for fruiting. Too hot and growth just stalls.
- Airflow: keep the lid cracked or the holes open. Stale, stagnant air warps the mushrooms as they grow.
Give it a few days and you’ll spot tiny pins pushing out through the holes. Within a week or so, those turn into full clusters.
Harvesting and Second Flushes
Pick them when the caps flatten out and the edges just start curling upward, before they go papery or start dropping spores everywhere. Twist and pull the whole cluster from the base rather than cutting it. Leftover stubs rot, and rot invites mold.
After harvesting, mist the bucket again and let it sit for 1-2 weeks. Most buckets will throw a second flush, usually smaller than the first. Once you’ve had two flushes out of it, the spent substrate still works great as compost for your other balcony planters.
Common Problems and Fixes
- No pins forming: usually too little fresh air or not enough moisture. Mist more, open the vents more.
- Long, skinny stems: that’s CO2 buildup. Drill a few more holes or prop the lid open further.
- Mold instead of mycelium: contaminated grounds or too much standing water. Fresh grounds only, and don’t drown the bucket.
- Slow colonization: probably too cold. Move the incubating bucket somewhere warmer for that first stretch.
Conclusion
Coffee-ground bucket farming takes something you’d normally pour down the drain and turns it into a steady, low-effort food source, no garden, no soil, no direct sun needed. Keep a few buckets cycling on a shaded balcony and most households can be harvesting fresh oyster mushrooms every few weeks, all year. Hard to think of a more efficient small-space food project than that.