Advanced Pruning Techniques for Potted Meyer Lemon Trees
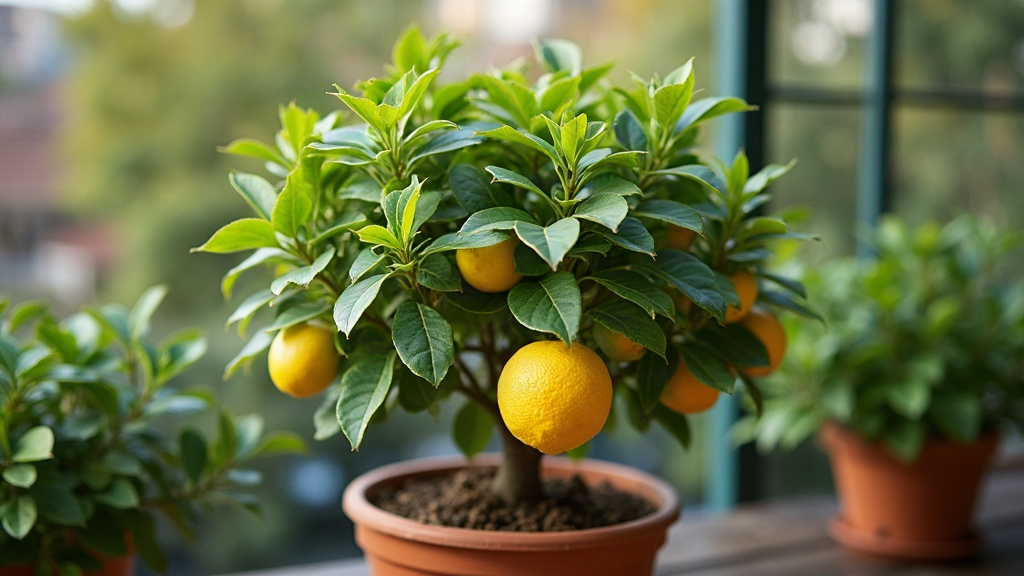
Potted Meyer lemon trees have a reputation for growing fast and bushy, and that’s exactly the problem. All that vigor packs the canopy tight, shading out the interior and giving pests and fungal spores a cozy place to set up shop. Advanced pruning for a dense-canopy Meyer lemon isn’t about grabbing shears once a year and hacking away. It’s selective thinning, careful heading cuts, and shaping with light in mind. Get it right and you’ll open up airflow, let sunlight actually reach the inner branches, and push the tree’s energy toward fruit instead of leaves.
Why Dense Canopies Become a Problem
Meyer lemons are naturally compact and twiggy, which is exactly why people love them in containers. But confine the roots to a pot and the plant responds by throwing out lateral shoots like it’s trying to make up for lost space. Give it two or three years of that and you end up with:
- Shaded interior branches that quit flowering or fruiting altogether
- Poor air circulation, which invites sooty mold, scale insects, and fungal problems
- Crossing, rubbing branches that wound each other and let pathogens in
- A top-heavy pot, unbalanced enough to tip over in a strong gust
Timing: When to Prune
The right window is after the main fruiting cycle, usually late winter into early spring, once hard frost is off the table but before the tree starts pushing new growth. That said, if you spot dead wood, disease, or branches crossing and rubbing, don’t wait for the “official” pruning season. Cut those out whenever you see them.
Step 1: Open the Canopy from the Inside Out
Resist the urge to shape the outline first. Start from the center and work out:
- Cut out suckers and water sprouts. These are the fast, vertical shoots (often with noticeably sharper thorns) that shoot up from the rootstock or deep inside the canopy. They drain the tree’s energy and never produce a single lemon.
- Pick your 3-5 scaffold branches. These are the wide-angled limbs that will form the tree’s permanent skeleton going forward.
- Thin out anything growing inward toward the trunk or crossing over your scaffold limbs. Cut back to the branch collar, that slightly swollen ring where a branch meets its parent. Never cut flush against the trunk; that’s where the tree’s natural healing tissue lives.
Step 2: Selective Thinning Cuts vs. Heading Cuts
This distinction matters more than most people realize:
- Thinning cuts take a branch all the way back to where it started. Use these generously on a crowded canopy. They open up light without provoking the tree into a growth spurt.
- Heading cuts just shorten a branch down to an outward-facing bud. Use these carefully, almost sparingly, on Meyer lemons. They trigger a cluster of new shoots right at the cut, and if you overdo it, you end up with an even denser tangle than before.
Here’s a rule of thumb that works well in practice: every time you make a heading cut, follow it up with two or three thinning cuts elsewhere. That keeps the regrowth response from getting out of hand.
Step 3: Create Light Channels
If the canopy is already thick, don’t just trim the surface. Cut small “windows” straight through it by removing whole lateral branches every 12 to 18 inches through the mid-canopy. That lets patches of light filter down to the lower fruiting wood without stripping the tree bare, which matters, because bark that’s been shaded for years can actually sunburn if it’s suddenly exposed all at once.
Step 4: Manage Height and Width for Pots
For a container tree, aim to keep it between 4 and 6 feet. Anything taller and you’re fighting stability and reach at harvest time.
- Once it hits the height you want, cut the leader (the main vertical shoot) back to an outward-facing bud.
- Watch for branches stacked directly above one another. That layered-umbrella pattern blocks light from ever reaching the lower canopy.
- Try to keep the widest branches around waist height. It makes picking fruit easier and gives pollinators clear access to the flowers.
Aftercare Tips
- Wipe your shears with rubbing alcohol between cuts. Citrus canker and fungal spores spread fast if you’re not careful.
- About 2 to 3 weeks after pruning, feed the tree a balanced citrus fertilizer to support the new growth that’s coming.
- Water deeply, but don’t let the soil stay soggy while the tree is recovering from all those cuts.
- Once new shoots start flushing out, pinch back the overly vigorous ones by hand instead of waiting until next season’s pruning.
Common Mistakes to Avoid
- Removing too much at once. Never take more than 20-25% of the canopy in a single session, no matter how tempting it is to “finish the job.”
- Flush cuts. Cutting too close to the trunk damages the branch collar and slows healing considerably.
- Pruning right before a cold snap. Fresh cuts are basically an open invitation for frost damage.
Conclusion
Real pruning skill with a potted Meyer lemon isn’t about how much you cut, it’s about how deliberately you cut. Thin selectively, use heading cuts sparingly, and carve out light channels on purpose rather than by accident. Do that consistently and you’ll see healthier growth, fewer disease issues, and a noticeably better lemon harvest year after year.