Beginner vs Advanced Methods for Saving Cherry Tomato Seeds
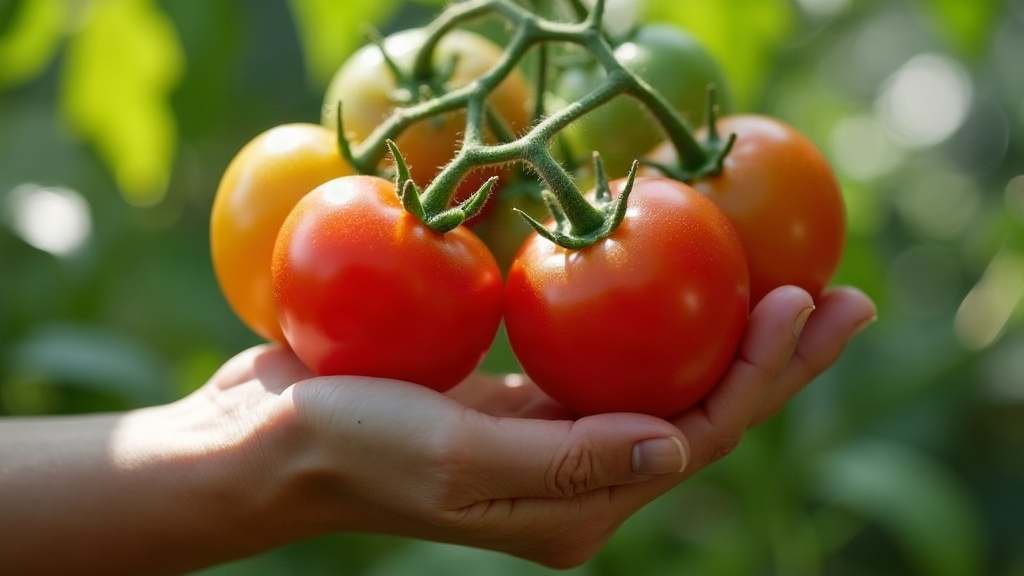
Saving Seeds from Container-Grown Cherry Tomatoes
Saving seeds from container-grown cherry tomatoes is one of the simplest ways to keep a favorite variety alive year after year, no new seed packets required. Maybe you grow ‘Sun Gold,’ maybe it’s ‘Black Cherry,’ or maybe some volunteer plant showed up uninvited and blew you away with its flavor. Either way, you’ve got two real options: a quick beginner method, or a more careful fermentation process for growers who want better results. Here’s both, so you can pick based on how much time and patience you’ve got.
Why Container-Grown Tomatoes Work Just Fine for Seed Saving
Pots don’t put your tomatoes at a disadvantage here. Container plants save seed just as well as in-ground ones, provided a few boxes get checked:
- The variety needs to be open-pollinated or heirloom. Hybrids (labeled F1) won’t breed true. Plant those seeds next year and you might get something that barely resembles the parent, in looks or in taste.
- Cross-pollination is a small risk, not a nonexistent one. Cherry tomatoes mostly pollinate themselves, so a few pots spaced out on a patio rarely cross with each other. Growing several varieties on a crowded balcony though? Give them 10 to 25 feet of separation if you can, or bag the flower clusters in mesh for guaranteed purity.
- Pick your best fruit, not just any fruit. Go for the ripest tomatoes off your healthiest, most vigorous plants, the ones with great flavor and no disease issues. Whatever traits that plant has, the seeds carry forward.
Beginner Method: Simple Dry Saving
Fastest route to usable seeds, full stop. The tradeoff is lower germination rates compared to fermented seed.
Steps
- Cut a fully ripe cherry tomato in half.
- Scoop the seeds and the gel around them onto a paper towel or coffee filter.
- Spread them out so none are clumped together.
- Air-dry in a warm, ventilated spot for 7 to 10 days, flipping them now and then.
- Once they’re brittle and fully dry, peel the seeds off (paper bits and all, if some stick) into a labeled envelope.
Pros and Cons
- ✅ Zero special equipment
- ✅ Finished in one sitting
- ❌ That gel coating has natural germination inhibitors baked in, which can hurt sprouting rates
- ❌ Seeds tend to stick to the paper towel and tear when you peel them off
Fine for casual gardeners who just want a backup stash for next season. Not great if you’re storing beyond a year or two, or if you plan on sharing or selling seed.
Advanced Method: Fermentation
Fermentation basically recreates what happens when a tomato rots on the vine on its own: it breaks down the gel, strips out the inhibitors, and kills off seed-borne diseases like bacterial spot along the way.
Steps
- Squeeze the seeds and gel from ripe tomatoes into a small jar or cup.
- Add a splash of water, just enough to get the fermentation going, not so much it’s swimming.
- Cover loosely with a coffee filter or cloth. Don’t seal it airtight, the gases need somewhere to go.
- Let it sit at room temperature 2 to 4 days, stirring once a day.
- You’ll see white or gray mold forming on top. That’s expected, not a failure. It means fermentation’s done.
- Add water, swirl it around, let the viable seeds sink while the pulp and duds float to the top. Pour off that floating layer.
- Rinse again and again until the water runs clear and the seeds are clean.
- Spread seeds on something non-stick, ceramic plate, glass, a screen, anything but paper (they’ll bond to it), and let them dry for 1 to 2 weeks.
Why Serious Growers Stick With This Method
- Germination climbs noticeably, often 85-95% versus 60-75% from dry-saved seed
- Lower risk of carrying seed-borne disease into next year’s crop
- Seeds last longer in storage, well-dried and sealed fermented seed can stay viable 5+ years
- The go-to method if you’re trading, selling, or donating to a seed library
Storage Tips for Both Methods
- Once seeds are completely dry, tuck them into paper envelopes, then drop those into an airtight container with a silica packet.
- Label everything: variety and harvest date. You’ll think you’ll remember by next spring. You won’t.
- Store somewhere cool, dark, and dry. A fridge works great for the long haul.
Which Method Should You Actually Use?
Just want backup seed from one or two favorite pots, planning to replant within the year? Dry saving is quick and gets the job done. Building an actual seed collection, dealing with disease pressure in your growing space, or chasing the best possible germination numbers? The extra few days fermentation takes are worth it.
Final Thoughts
Both methods get you where you want to go: your favorite cherry tomato, carried forward into next season. New to this? Start with dry saving. Once you want more reliable, longer-lasting seed, move up to fermentation. Either path you take, the fundamentals don’t change: stick to open-pollinated varieties, pull seed from your strongest plants, and dry everything thoroughly before it goes into storage.